Friday, January 9, 2015

Happy 2015!


I have never been much of a late night person, and new years eve was no exception, particularly when your husband has to work until 1am, and then again at 7 am. So needless to say I slept through the ending of 2014 and into the beginning of 2015.


Something that I always love about a new year is the opportunity to set goals! I enjoy setting goals and will be sharing some of these on this blog. One of the most helpful tools I have found when setting goals is the S.M.A.R.T. goal method (you can read more about it here).

In a nutshell:

Specific
Measurable
Achievable 
Result-focused
Time bound

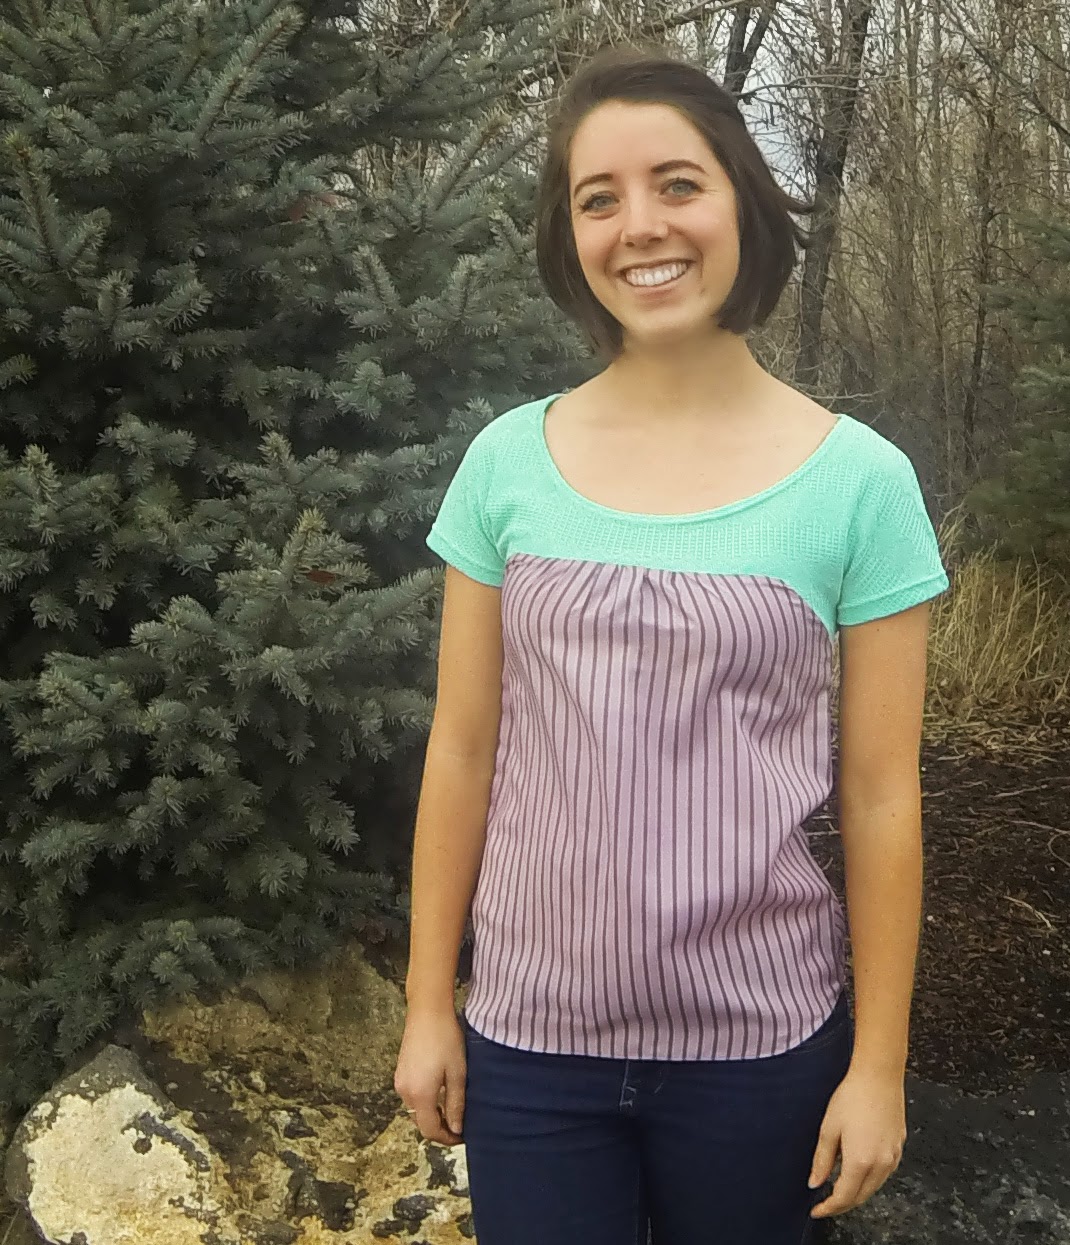
All Photos taken by Kaloni Udall


Happy 2015!

Monday, December 8, 2014

How to hem chiffon and other lightweight fabrics:

Learning how to sew is a lifelong process, I am, and will, always be picking up little tips and tricks to make my garments have a professional feel to them. This is one one my favorite tricks that I learned in my bridal wear sewing class at BYU-I. One of the other students who will forever stand out as a kindred spirit, and who I look up to as a mentor, taught me this wonderful method for hemming fine fabrics. 


Step one: chiffon has a tendency to warp and fray very easily, and as a result you must work carefully, with the goal of making your edges appear something like the edge I've shown below. Some additional trimming may be necessary before you begin. 


Step two: Put your chiffon under the presser foot, folded over about 1/8", DO NOT use pins to hold your fabric in place as this will slow you down and actually make it harder to get a clean edge. 

(if the picture below is confusing, keep reading it will make more sense as you go)


 Step 3: Sew all the way around the edge that you are finishing, do not back stitch, instead, simply continue sewing, finally sewing over where you started about 1".

This is the wrong side or back of the fabric

This side is the right side, the side that will be visible after the garment is finished
 Step 4: Fold the fabric over a second time as shown below, and again sew all the way around, with no back-stitching.


This is what the outside or right side of your finished garment will look like.

This is what the inside or wrong side should look like, you will be able to see both sets of stitching.

*For clarification the red thread (bobbin thread) marks the rights side of the fabric, and the purple (top thread) marks the back.

* This technique work well on chiffon, silks, peachskin, lining, or other lightweight fine fabrics.

Thursday, December 4, 2014

More sewing

Here are a few more of my recent projects! I'm working hard on perfecting my pattern work, and streamlining my process. I have fabrics coming in the mail, and I'm looking forward to opening my etsy shop in the very near future! 


Tuesday, November 11, 2014

My sewing room

Ever since we moved into our apartment here in Idaho I knew I wanted and needed a sewing room. So Layton and I agreed that we would move all of our storage stuff into the spare room and then I could use the remaining space for a sewing room!
It has taken me over a year to clean up, de-junk, etc. to get this room into a configuration that I absolutely love.


^  I store most of my fabric in large plastic tote boxes. I started out with 7 in various shapes and sizes and now I'm down to 4! Hooray for de-junking.


^  Another recent addition is my hanging rack. This is a big favorite, it saves me so much space being able to hang unfinished and finished projects, it also helps me to organize and prioritize what I need to be working on.


^  I was able to use paracord to hang the rack which saved a lot of floor space. I have always loved knots and used a couple of different knots here. I feel like they give it an outdoorsy feel!


I am so grateful for this wonderful space, and I am excited about the fun projects that I have in the works! Can't wait to share ;)


Wednesday, November 5, 2014

Herb

This is Herb, pronounced Hurb. You know, short for Herbert. He is our new pet! I was working on altering a sweater and I was able to use the leftovers to make him. It was so easy and he turned out so well that I decided to do a basic stuffed animal tutorial.


Step 1:  Start with a rectangular piece of fabric. The size of your rectangle will determine the final size of your cat. Turn your rectangle so that it's inside out.


Step 2: Sew along the pink lines to create the cats ears. Backstitch at the beginning and end.


Step 3: Turn right-side out and stuff, I used some torn up quilt batting.


Step 4: Hand stitch the bottom closed. Sew on button eyes and tie a ribbon around the neck.


Look at that your very own stuffed pet cat. Perfect for anyone with pet allergies!


Monday, November 3, 2014

Our Post Halloween Haunted Graham Cracker House Party!!

How's that for a title?

The night after halloween we had a little get together with some friends of ours and made haunted graham cracker houses.
At first I was a little hesitant about it, seeing as it was the night after halloween, but it was such a blast, we definitely want to make this a family tradition!


Our little house!


 I found the best recipe for frosting, it was really sticky (making it hard to mix all the colors) but totally worth is because it actually held the graham crackers together!

Here is the recipe:

2lb. bag powdered sugar
1tsp. Cream of Tartar
3 egg whites
1/4 cup water

Put all ingredients in a bowl and mix till sticky. 1/4 cup doesn't seem like much water and you can add more if you need to, but mix it really well first or your frosting will turn out quite watery. 

This one was a haunted train, notice the conductor in the window!

Love the tiled roof and candy corn spikes.


Monday, October 27, 2014

Pumpkin carving


I love Halloween, and I especially love dressing up and pumpkins. Layton and I made a goal this week to watch less TV so we have been filling our time by doing projects etc. Last year we weren't very festive. We only really celebrated at Tiahna's awesome Halloween party. Here are some photos from her super cool blog. Click here to be directed to more of her cool pics.
Ms. Frizzle & Bille Nye
Spookie Treats

Rosie the Riveter & Soldier  


So to get in the holiday spirit, and to begin being more festive, we began by decorating the house and carving pumpkins.


The aftermath

This weekend we got to go over to make pizza and carve more pumpkins with our friends!! Pumpkin carving the best. Unfortunately the photos I have a really low quality (from my cell phone), so I didn't post any here.