Showing posts with label sewing. Show all posts

Friday, June 19, 2015

Nursing/pumping friendly clothes

After having Emma I began to pump for her. I quickly found that most of my t-shirts didn't work for pumping, or for holding her during kangaroo care. The best options were button downs but sometimes you want to wear something different. I started looking at nursing tops and dresses... oh my. There is very little available and what is available is not very cute or it's very expensive. I think of my self as being a problem solver, so I set out to make some dresses and tops that would be pumping/nursing friendly.
My solution was to put a placket in everything so a lot of the shirts and dresses that I have been making recently have been a tunic or henley style with buttons going only part of the way down the front.


I learned how to put in plackets a long time ago in school. I watched this video here as a refresher. I am also putting together my own tutorial of how do do a placket because the video is long, and sometimes it's easier to just scroll through a page and be able to follow the instructions at your own pace.

Oh and here are some pictures of sweet E because in the first one she looks like she waving, and how can I possibly put up a post devoid of her cuteness!


Monday, December 8, 2014

How to hem chiffon and other lightweight fabrics:

Learning how to sew is a lifelong process, I am, and will, always be picking up little tips and tricks to make my garments have a professional feel to them. This is one one my favorite tricks that I learned in my bridal wear sewing class at BYU-I. One of the other students who will forever stand out as a kindred spirit, and who I look up to as a mentor, taught me this wonderful method for hemming fine fabrics. 


Step one: chiffon has a tendency to warp and fray very easily, and as a result you must work carefully, with the goal of making your edges appear something like the edge I've shown below. Some additional trimming may be necessary before you begin. 


Step two: Put your chiffon under the presser foot, folded over about 1/8", DO NOT use pins to hold your fabric in place as this will slow you down and actually make it harder to get a clean edge. 

(if the picture below is confusing, keep reading it will make more sense as you go)


 Step 3: Sew all the way around the edge that you are finishing, do not back stitch, instead, simply continue sewing, finally sewing over where you started about 1".

This is the wrong side or back of the fabric

This side is the right side, the side that will be visible after the garment is finished
 Step 4: Fold the fabric over a second time as shown below, and again sew all the way around, with no back-stitching.


This is what the outside or right side of your finished garment will look like.

This is what the inside or wrong side should look like, you will be able to see both sets of stitching.

*For clarification the red thread (bobbin thread) marks the rights side of the fabric, and the purple (top thread) marks the back.

* This technique work well on chiffon, silks, peachskin, lining, or other lightweight fine fabrics.

Thursday, December 4, 2014

More sewing

Here are a few more of my recent projects! I'm working hard on perfecting my pattern work, and streamlining my process. I have fabrics coming in the mail, and I'm looking forward to opening my etsy shop in the very near future! 


Tuesday, September 30, 2014

T-shirt Challenge

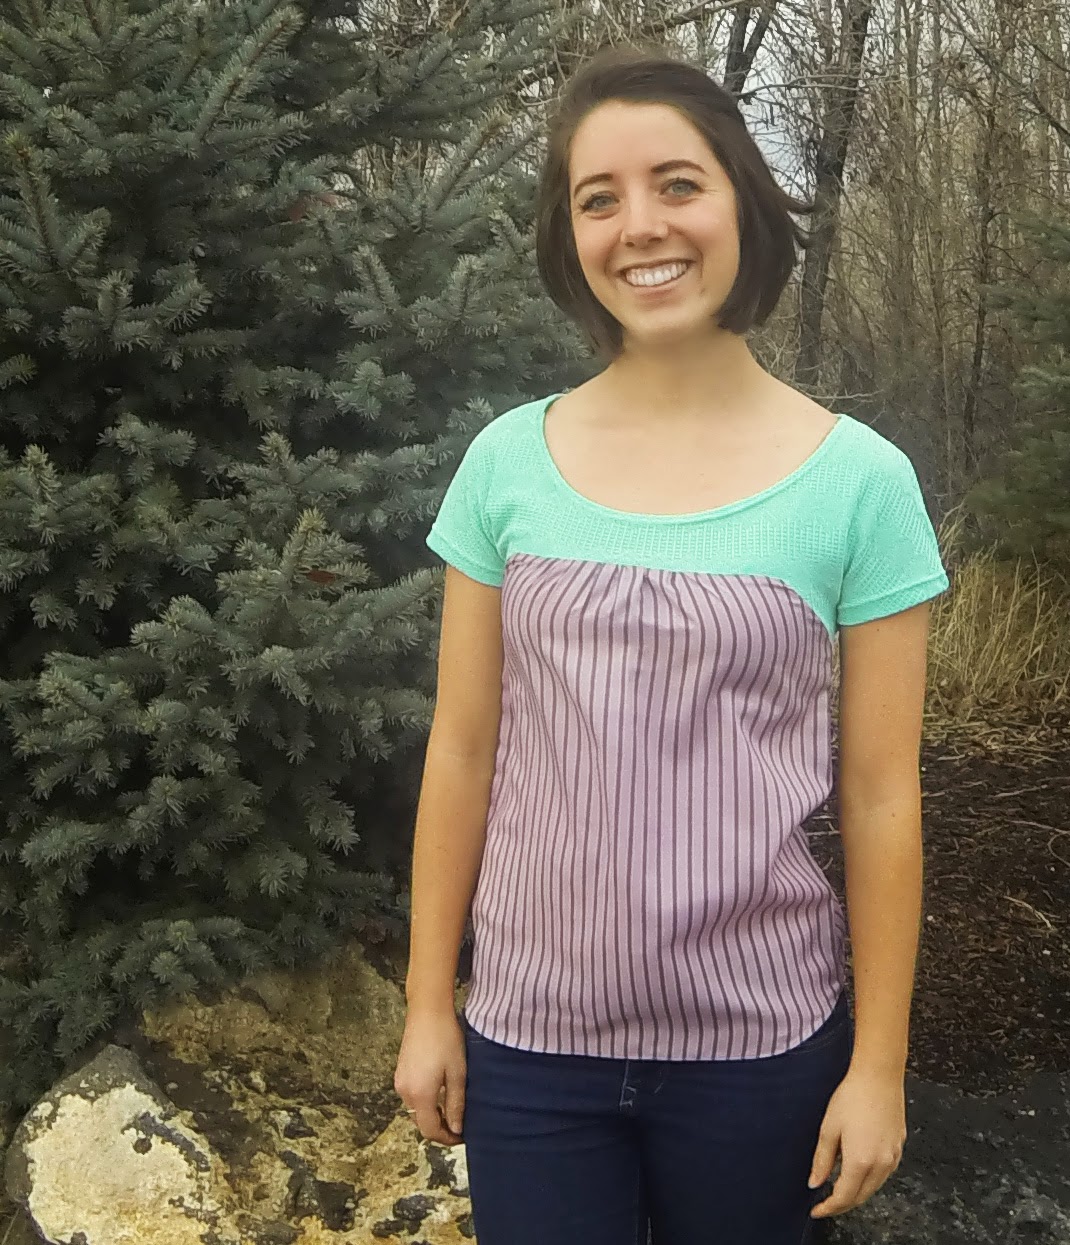
I'm sure all of you noticed a trend on all my Instagram: T-shirts. I love the feel and fit of a basic t-shirt, however they are just too casual for where I work. So I decided to dress it up a bit, and I challenged myself to make a different variation on a t-shirt everyday for a week, just to see what I could come up with. I didn't buy any fabric for this project, I just used what I had in my stash!


Here are the final results!

Monday ^

Tuesday^

Wednesday^

Thursday^

 Friday^

Saturday^

And a couple of bonus shirts just for fun!!


Tuesday, September 23, 2014

The basic t-shirt tutorial

Here's a quick "how to" for the most basic form of the t-shirts I've been making. I'll have another post later on the patterning I did to create all the fun variations from this last week, as well as a modified version for woven (non-stretch) fabrics later on! This tutorial works best for knits and other fabrics that have a bit of stretch.

Step 1: Grab a favorite t-shirt or one with a fit that you really like.

Step 2: Lay your old shirt on top of your fabric or paper (if you are making a pattern that you  can reuse), along the fold like this.


Step 3: Cut or trace around the t-shirt, leaving about '5/8-1' seam allowance as you cut. If you're nervous about potentially cutting your old shirt, use a pencil or some marking chalk to draw around the shirt first. (The pink lines represent the tracing around the shirt)


Step 4: Repeat the top step for the back of the shirt. (Blue lines are the tracing of the back)


Step 5: Place the two pieces together and sew along the shoulder seams. (Orange lines are where you will sew)


Step 6: Sew side seams together (once again, the orange lines).


Step 7: Neckline

This is my favorite tutorial for a t-shirt neck band, so, instead of re-inventing the wheel, click here to access the tutorial.

Here's the equation if you already get the general gist of it.

Neckline x .15 =X                   (Total neckline)-X = the length of fabric you need for neckline


Step 8: Hems

You will be finishing your sleeve edges and the bottom of your shirt. I recommend using a double needle to finish off your shirt, as it's easy and looks professional. You can use this fabulous tutorial for detailed instructions!


Ta da! Now you have your very own basic T!!!